
How to Build a Koi PondStep-by-Step Planning Guide
How to build a koi pond step by step: planning, size and depth, excavation, liner or concrete, drains, filter room, plumbing, filling and start-up.
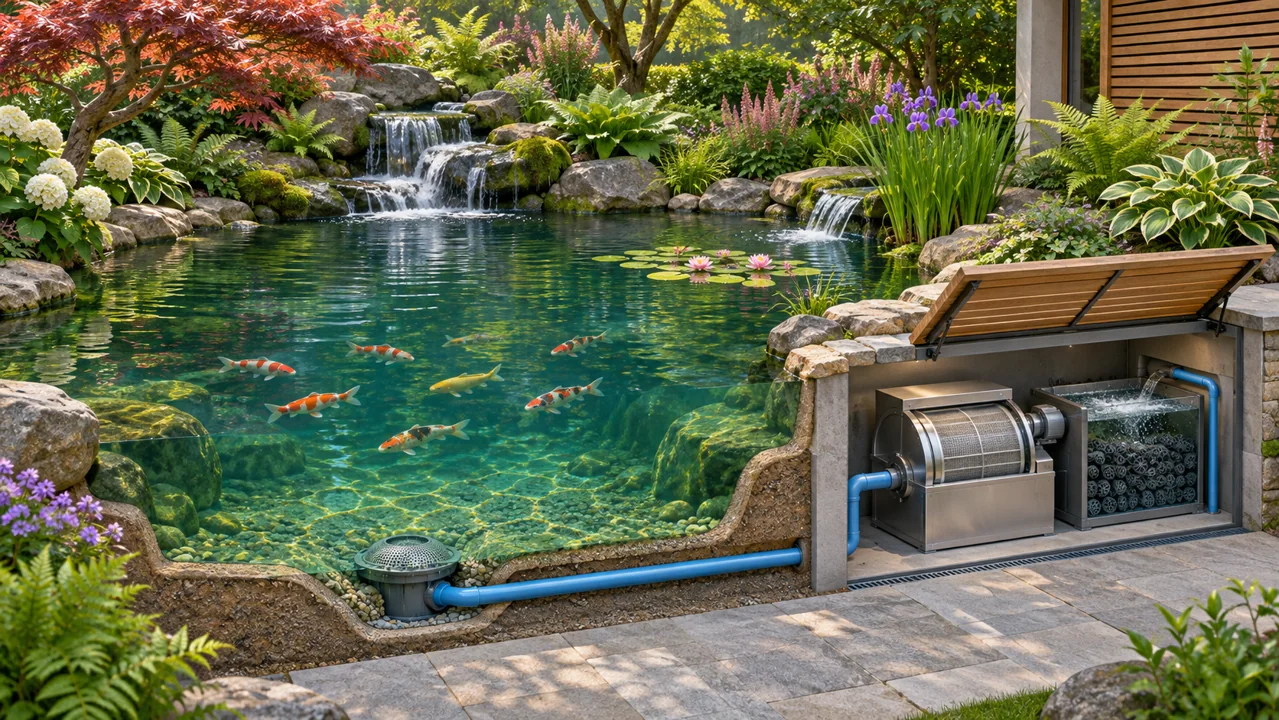 SYSTEM CONCEPT
See the mechanism.
Understand the duty.
Select a route or a stage to inspect the process. The cutaway explains the equipment and water environment; it is a teaching illustration, not a project drawing.
Collect surface debris
Use the operating pond volume and actual loading.
A skimmer can collect floating debris. Its duty and position depend on the pond layout.
- Use the operating pond volume and actual loading.
- Review collection, filtration, oxygen and return distribution.
- Record water chemistry and changes in fish behaviour.
Plan before you dig
- Choose the siteAway from big trees, with good access and drainage. Avoid the lowest point in the garden.
- Decide the sizeAim for at least 10,000 litres, and 1.2 m or more deep.
- Plan the filter positionPut the filter room where it can be gravity-fed and easy to reach.
- Check permissionsSome places need approval for excavation or electrics.
Pond construction
Two main methods: concrete or block with a sealed coating, and flexible liner over a firm excavation. Concrete lasts longest and holds a clean shape. Liner is quicker and cheaper but needs careful folding and support. Whichever you choose, set the bottom drain flanges and skimmer in place as you build.
Work with your own numbers.
Use the tools below to explore the relevant arithmetic. Enter measured values or declared assumptions. An estimate does not establish equipment capacity, biological performance or a safe operating limit.
Pond or tank volume
Estimate a rectangular water volume from internal wetted dimensions and average operating depth.
Assumptions and limits
Irregular shapes, sloping walls, freeboard and displaced equipment change the usable water volume. Confirm with a fill meter where practical.
Flow & turnover planner
Relate a measured water volume to a selected turnover time. Confirm the time from the application and hydraulic design.
Assumptions and limits
A planning allowance is your assumption. This calculation does not choose a filter, prove treatment capacity or account for pump head.
Convert units before you calculate
Planning arithmetic · inputs remain visible for review · example values are not operating recommendations
The filter and plumbing
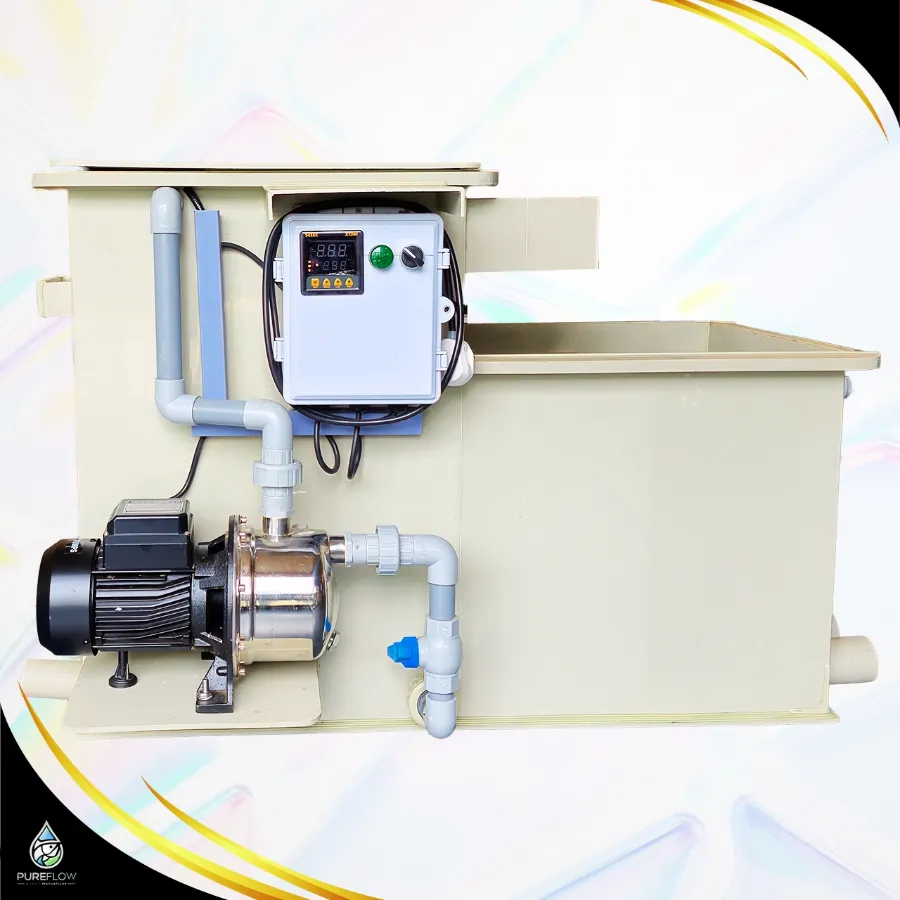
Run drain pipes to the filter with a continuous fall, then put the pump after the filter. Think about room for a drum filter, biofilter, UV and valves. See koi pond filters and bottom drains.
Electrics and safety
Use a qualified electrician for outdoor wiring. Protect circuits with proper RCD devices, and keep controls above any flooding level.
Filling and start-up
- Fill with clean waterTreat chlorine if using mains water.
- Run the systemCheck flows and pipe joints for leaks.
- Cycle the biofilterAdd an ammonia source and wait for the bacteria to establish. See biofilter start-up.
- Add fish slowlyIntroduce koi gradually after testing. Quarantine new fish.
Mistakes to avoid
- Too shallow, too small.
- No bottom drain.
- Filter squeezed into a space with no service access.
- Undersized pipes.
Start with the operating pond
Use these questions to prepare a project brief or an operating review. Check an item only when the information has been recorded for your installation.
This checklist is a working aid in the current page session, not a saved maintenance record.
How to Build a Koi Pond FAQ
How long does it take to build a koi pond?
A medium pond takes a few weeks for the construction and a few more weeks to cycle.
Should I use liner or concrete?
Concrete for permanence and finish, liner for speed. Both work if built well.
Do I need planning permission?
Check with local authorities because requirements vary.
More guides related to how to build a koi pond
Discuss your system with Pureflow.
Share your application, operating volume, actual flow, loading and the question you are trying to resolve.